How to Clean the Bathroom Exhaust Fan
When it comes to writing that big bathroom cleanout checklist, don’t forget to add cleaning your ceiling exhaust fan to the list. As ceiling exhaust fan specialists, we’ll explain how to clean the bathroom exhaust fan step-by-step, so you can get the most out of it.
Bathroom fans are an often neglected part of your home. Given how crucial they are in removing odours and moisture from the room, as well as airborne contaminants, they certainly deserve a lot more TLC!
If it’s covered in dust, your bathroom fan won’t work efficiently, and you run the risk of creating the perfect environment for mould to grow. Mould growth compromises your air quality and could even make your family sick. So let’s find out how to clean the bathroom exhaust fan so you can enjoy the cleanest and freshest air possible in your home.
The Benefits of a Clean Bathroom Exhaust Fan
Clean bathroom exhaust fans are essential for maintaining a fresh and healthy environment. Here are the benefits of ensuring your bathroom fan stays clean:
- They improve air quality by efficiently removing moisture, odours, and visible dust build-up.
- They lower the risk of a dirty fan or blocked motor causing house fires.
- You can enhance the lifespan of the fan unit and fan components, including fan blades and the motor assembly.
- You minimise the build-up of excess moisture, which lowers the chance of mould growth.
- Cleaning keeps the fan housing and vent cover in good condition, ensuring your fan works smoothly and efficiently.
A clean bathroom exhaust fan not only ensures efficient housekeeping but also helps keep your bathroom exhaust working properly for years.
8 Steps To Clean A Bathroom Fan
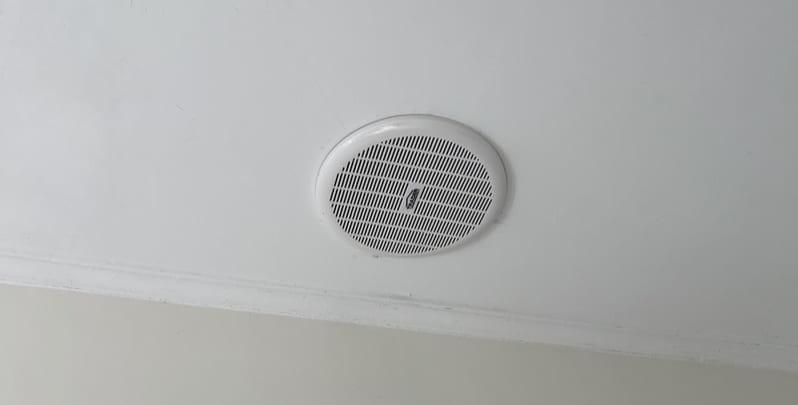
Your bathroom fan is made up of three major components – the fan cover, fan blades and motor, and the housing. To effectively clean your exhaust fan you will need to thoroughly clean all these components.
1. Switch The Fan Off
Before you even think about starting to dismantle and clean your exhaust fan, you’ll first need to turn it off at the powerpoint or circuit breaker. While nothing bad is likely to happen, it’s worth being cautious and preventing a catastrophe where you can.
2. Remove Vent Cover
You’ll most likely need a ladder to reach the exhaust fan. Make sure you’ve stabilised and secured the ladder first before climbing up and beginning cleaning.
Depending on your exhaust fan, you might have screws that you will first need to unscrew. Put these somewhere safe where you won’t lose them.
Once you’ve removed the screws, gently pull the vent cover straight down. You will find it is hanging from two spring clips. To remove it from these clips, squeeze the sides of the clips together and slide the hooks out of their slots. You should be able to quite easily remove the vent cover.
3. Soak the Vent Cover
You’ll likely find the vent cover caked in grime and dust buildup. If this is the case, place the cover in warm water infused with a few drops of dish soap. Let it soak in the soapy water while you clean the other components. This will make cleaning it later a bit easier.
4. Use a Damp Cloth and Vacuum to Clean the Fan Blades and Motor
Apply just a few twists to remove the fan and fan motor from its housing. Use a vacuum cleaner with a brush attachment to remove the dry dust.
With this dust gone, you’ll most likely notice a cakey build-up still left over. Use a damp microfiber cloth to wipe away the accumulation of grime from the blades and motor.
If you’re feeling handy, don’t be afraid of further disassembling your exhaust fan and cleaning every nook and cranny.
If you aren’t able to remove the fan and motor assembly, use the cloth and vacuum to remove as much dust and debris as you can.
5. Clean out the Housing
Using your vacuum’s brush and crevice attachment, clean out the inside of the exhaust fan’s surrounding recessed housing.
6. Wipe the Vent Cover with a Cloth
By the time you’ve cleaned the fan blades, motor and housing, the fan cover should have had enough time to soak. Wipe away the grime and build-up from the vent cover with your damp microfiber cloth. Perhaps clean it first after its previous use though.
7. Allow Parts to Air Dry
With all the parts clean, give them time to air dry. You’re one step away from a newly clean fan!
8. Put It All Back Together!
Once all the parts are dry, it’s time to reassemble your exhaust fan. With all the fan blades and motor back in place, spin the fan blades with your hand to ensure they don’t hit anything.
Reattach the vent cover and turn your fan back on. Give it a test run to ensure it is working as it should.
Your newly-cleaned bathroom exhaust fan will be more effective in circulating air and help prevent the growth of that dreaded mould!

How Often Should You Clean A Bathroom Fan?
Though it’s by no means a complicated job, cleaning your exhaust fan certainly isn’t something you want to be doing every week. So, just how often should you be cleaning your bathroom exhaust fan?
We recommend you clean it at least once a year. Adding it to your Spring cleaning checklist can be an easy way to remember it.
Your bathroom exhaust fan probably gets a work out every day. Every time you use your shower or bath with hot water, steam fills up the room and needs to be removed. If it is not getting removed, your bathroom is being filled with moisture, which bacteria and mould love to grow in.
An annual clean will help to help to keep your exhaust fan working efficiently for longer.
Is it time for a new exhaust fan? Metropolitan Electrical Contractors has a bathroom exhaust fan installer ready for same-day installation. Contact us to learn more.
Please note: This information is provided for advice purposes only. Regulations differ from state to state, so please consult your local authorities or an industry professional before proceeding with any work. See our Terms & Conditions here.
Published: 2024-10-10
Share:
Recent Posts
The Ultimate Guide to an Energy Efficient House
June 20, 2025
Want to create a truly energy efficient house? We have some great and simple tips ...
Metropolitan Electrical Contractors has your home electrical emergencies under control this long weekend.
What Are The Best Light Bulbs For The Home
May 30, 2025
Discover the best lighting solutions for your home in 2025.
How to Choose the Right Exhaust Fan
May 21, 2025
Exhaust fans are an essential part of any home where moisture and steam can be ...